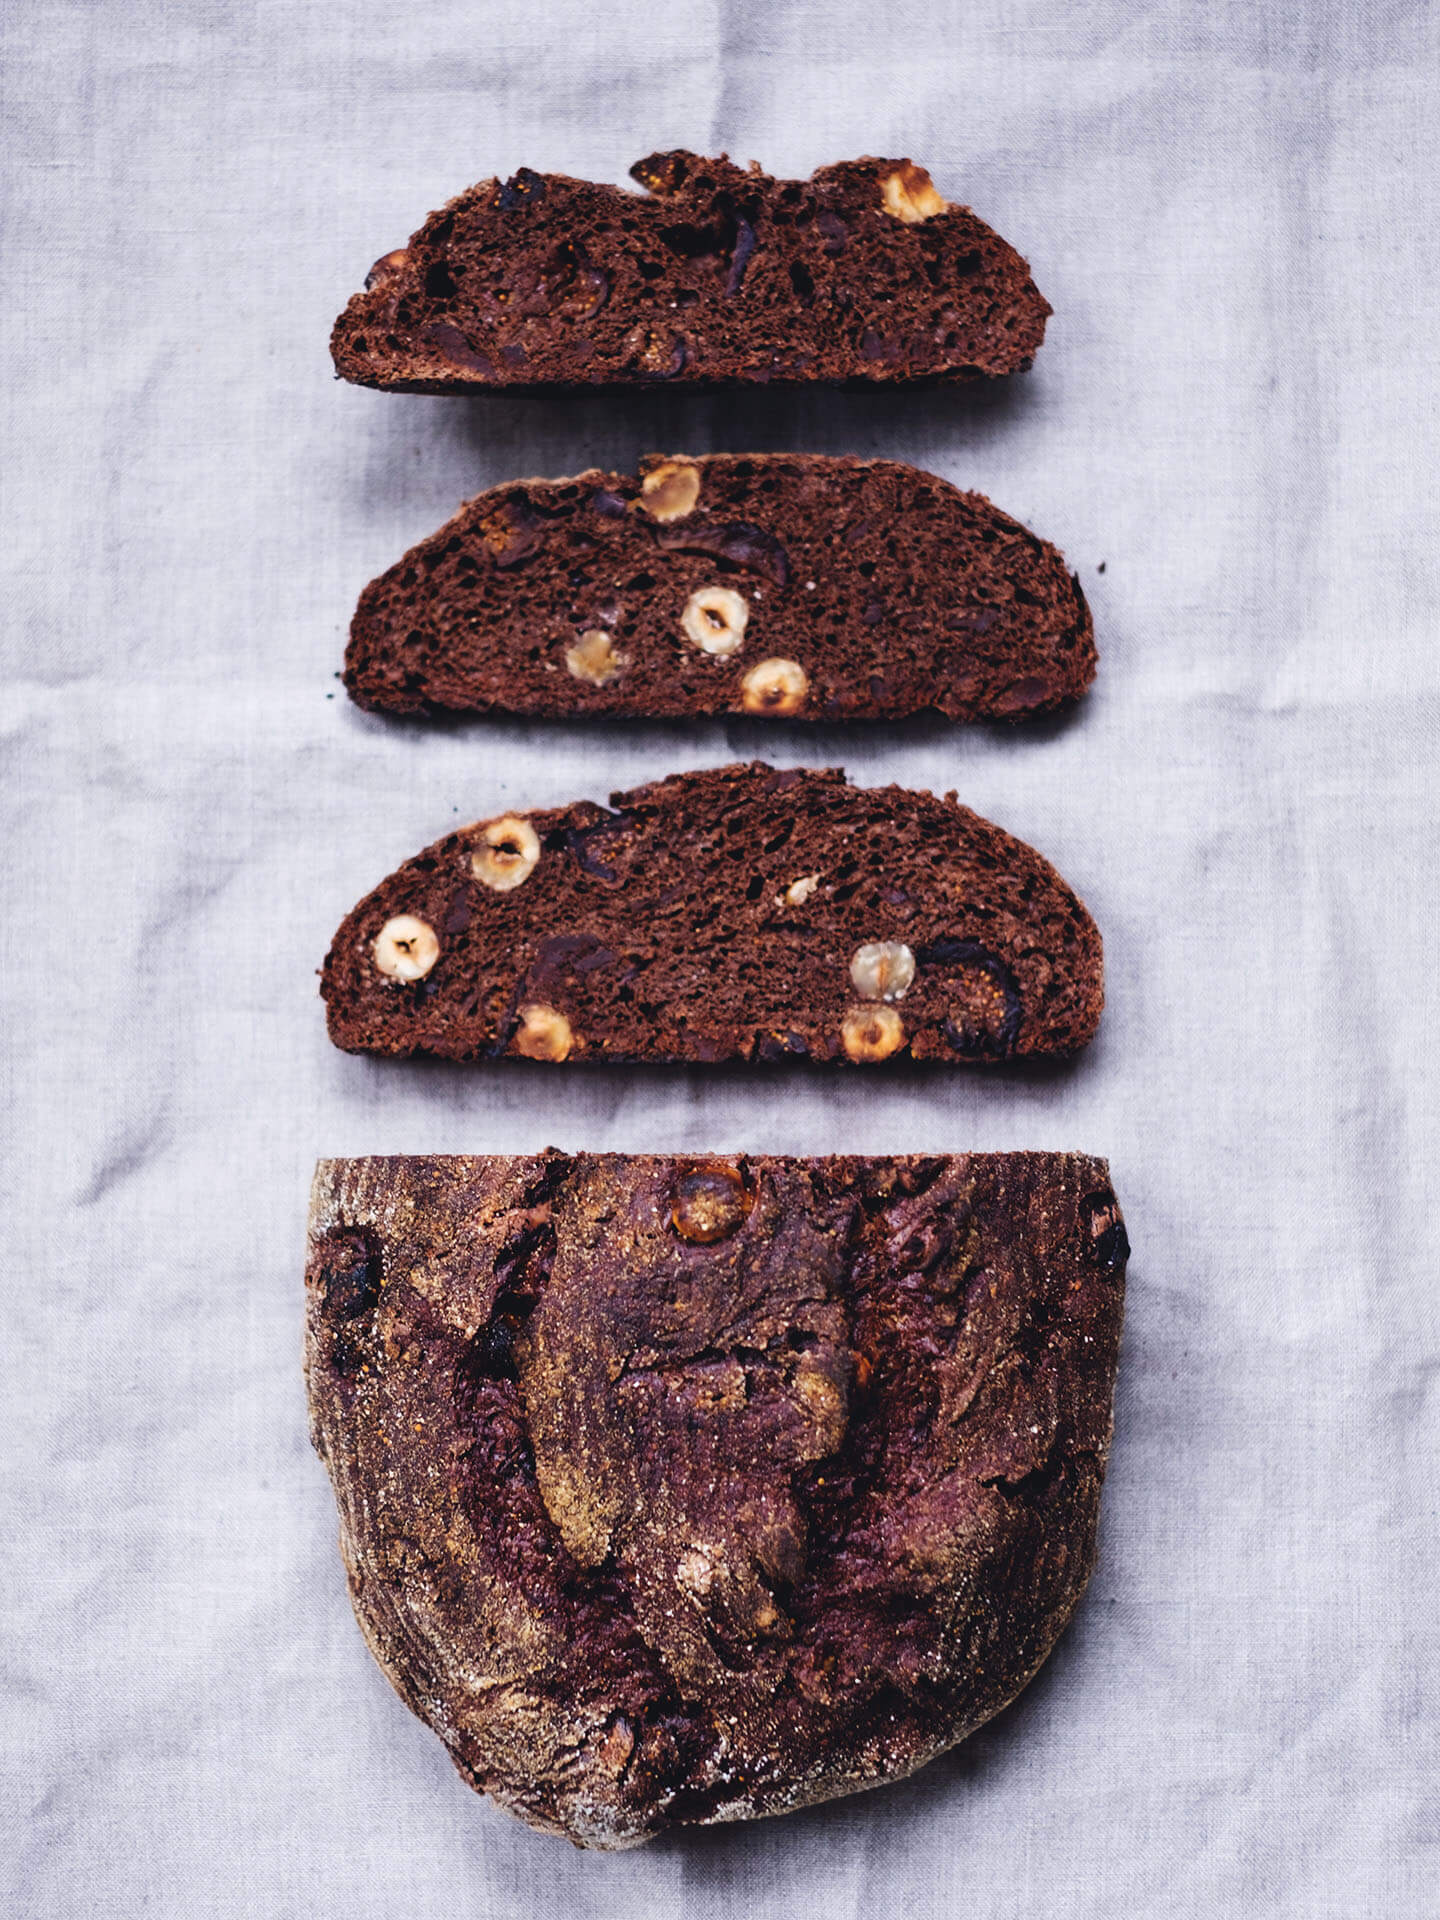
Lorenzo is out of town continent for work. I’ll spare you from the “I miss him so much” or the “I hate sleeping alone” or “the first and the following nights I barricaded the main door with a media console”. You’re not here to read that – are you? So, I’ve been baking sourdough every week since my class at The Mill and I usually play around with different flours and percentage of them, but always keeping the final result “normal”. I keep it in this way because L. really likes my bread, it’s maybe the only thing leaving my kitchen that he really appreciates (honey, I love you anyway) and I don’t want to mess with it. BUT, this time I’m alone at home and this means that I can let my weirdness stand up and be counted. Therefore, my plain and yet delicious sourdough put on a different, fragrant, and complex dress.
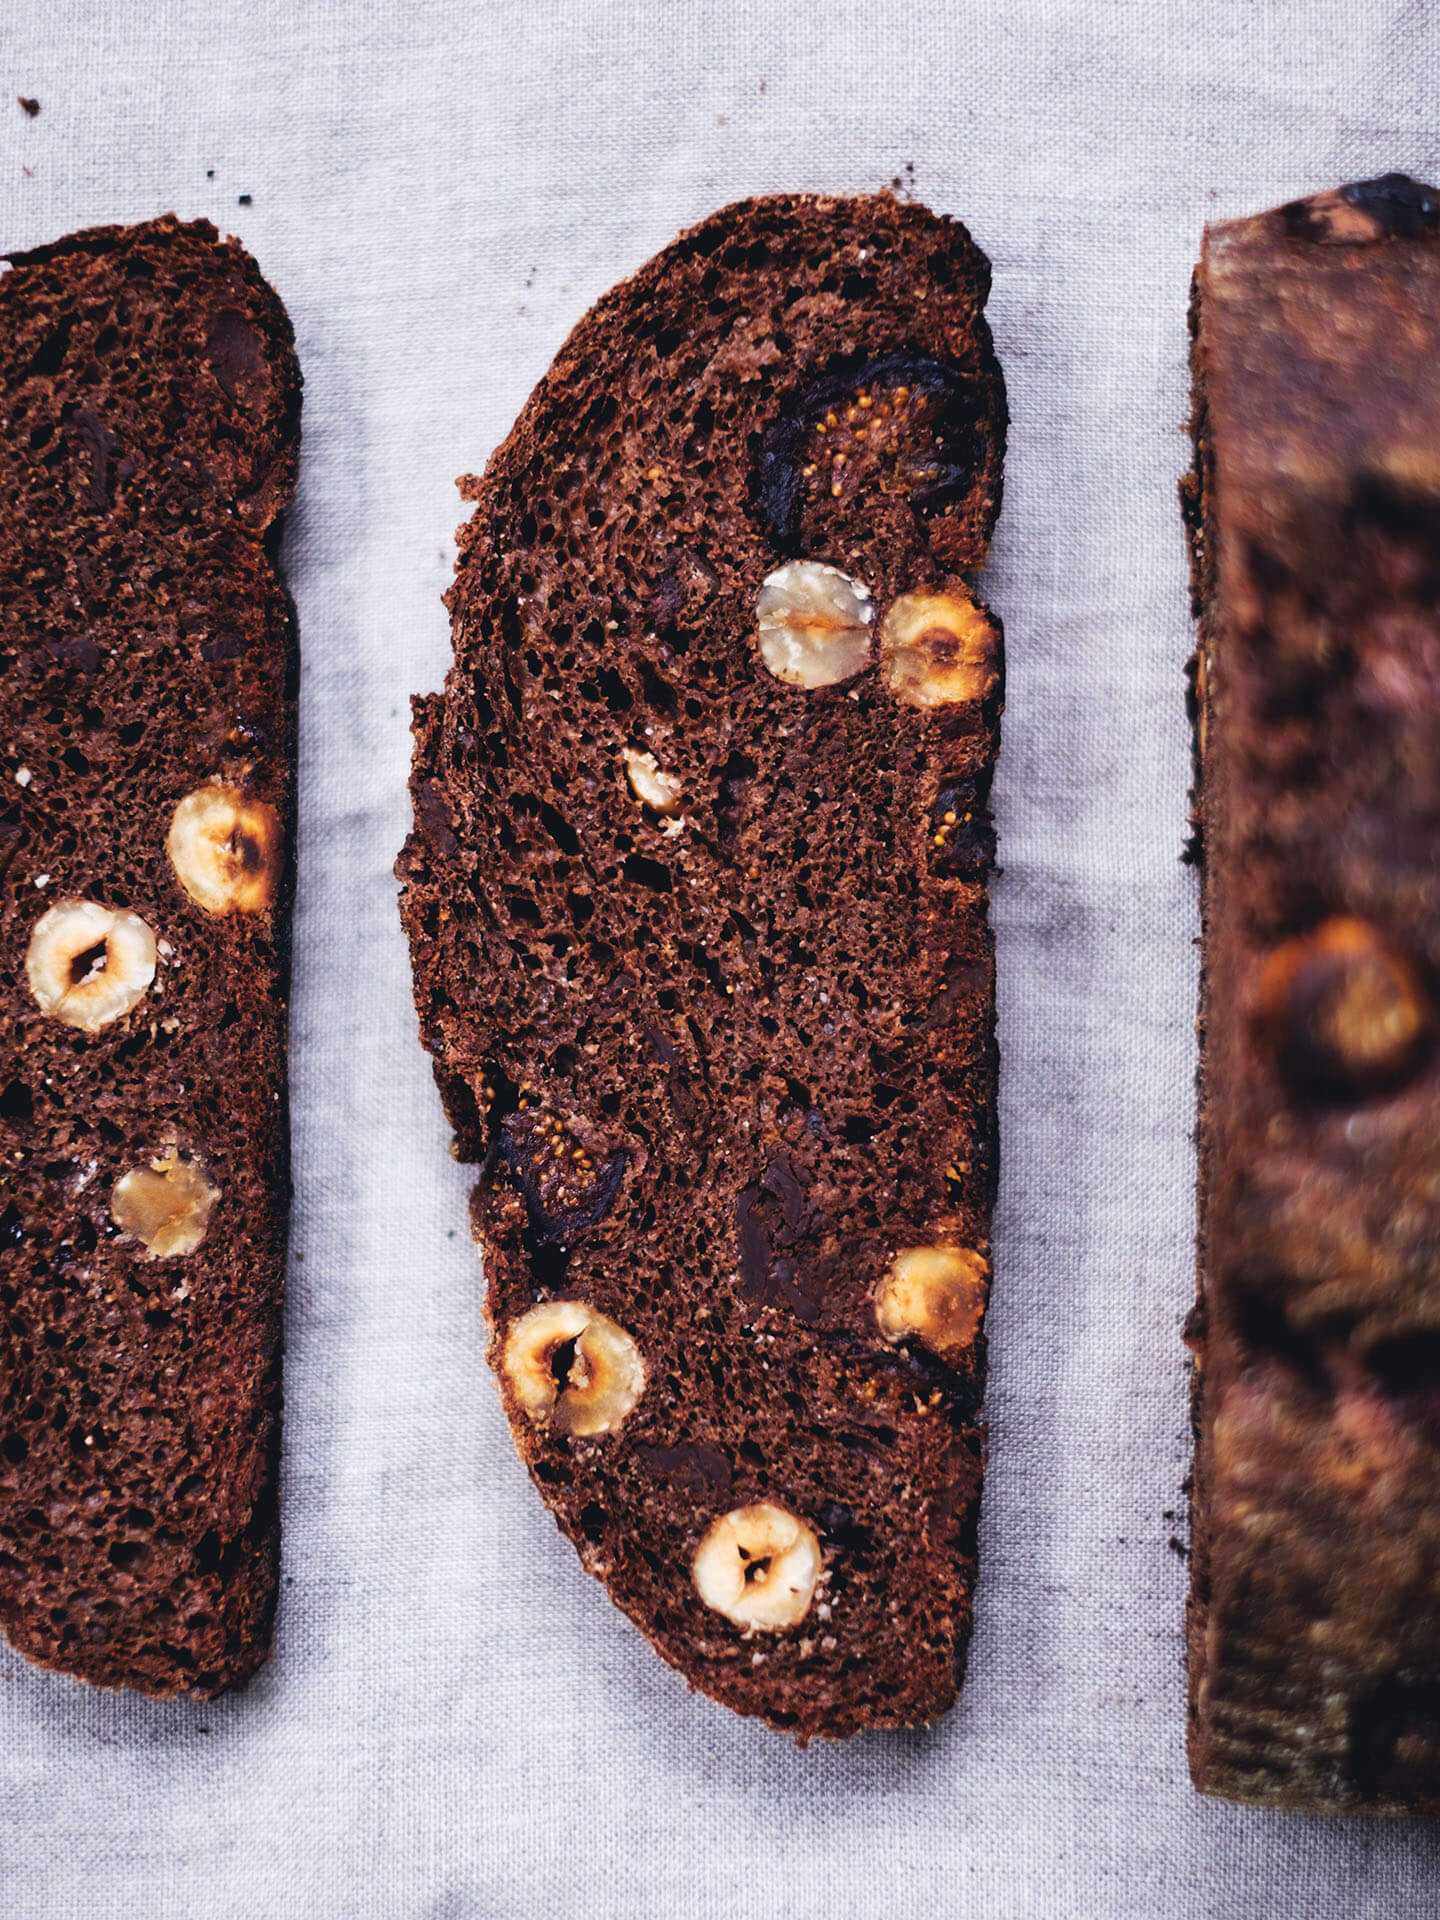
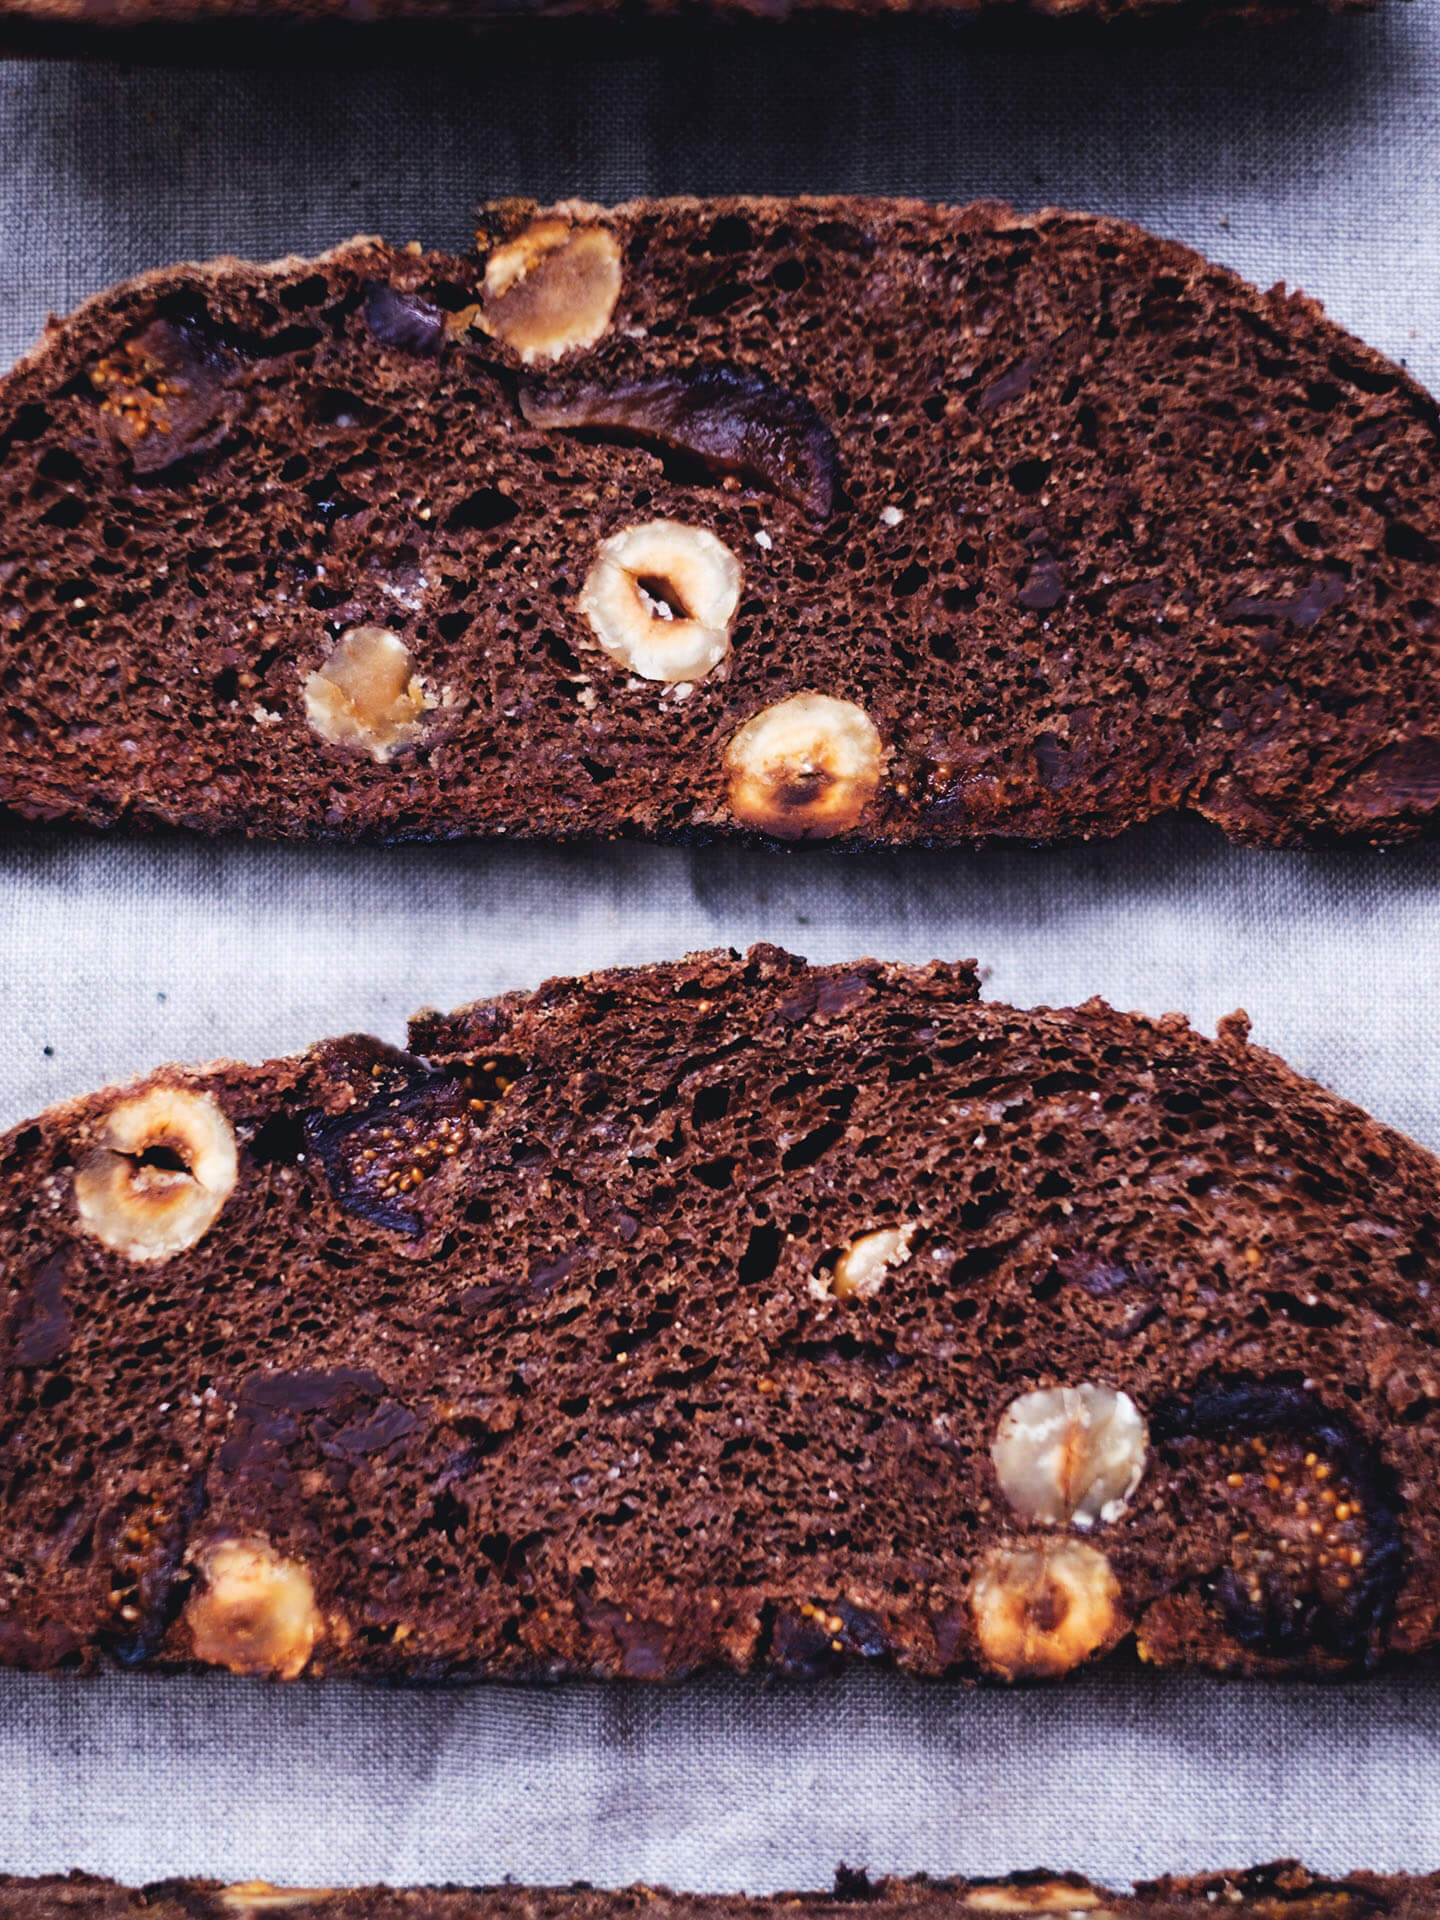
If I tell you that among the ingredients you’ll find cacao powder, dark chocolate, dried figs, and hazelnuts, you could think that it’ll be perfect for breakfast, maybe with some honey, pear butter or orange marmalade, and it surely is. But try and spread some goat cheese over a slice or serve with some roasted roots for a frugal weekend lunch or as an unexpected match with some curried cauliflower. You’ll be amazed. As a matter of fact, it’s not sweet at all, it’s actually a bit more on the bitter side. And if you think that this bread is not healthy, you’re so wrong!
Raw cacao + 100% cacao chocolate: everybody knows that cacao is considered a superfood by now! With an ORAC ( Oxygen Radical Absorbance Capacity ) score of more than 90.000, it’s one of the richest food in antioxidants. It also contains iron, magnesium, and calcium; it’s a great source of four scientifically proven bliss chemicals – serotonin, dopamine, anandamide, and phenylethylamine: these neurotransmitters are associated with cozy feelings of well-being, happiness, and can even alleviate depression.
Dried figs: they contain good amounts of vitamin K and calcium – both important for bones’ health – manganese, potassium, and magnesium, and almost 10 g of fiber for 100 g of product.
Hazelnuts: 100 g of these nuts contains the 100% daily intake of vitamin E, which helps fighting aging – yes, you’ll probably find it as ingredient in your anti-aging moisturizer -, the 268% of manganese and the 192% of copper, a really important mineral, but often neglected. We use them quite a lot in Italy, they’re part of our culinary tradition, especially in the north.
Before going straight to the recipe, wich tools do you absolutely need? A big mixing bowl, a (possibly) wooden spoon, a clean wood board or counter, a proofing basket, a covered pot (read below) and a razor blade. If you want to improve a bit your equipment, a silicon bowl scraper, a stainless steel bench scraper, and a lame, can be really helpful.


THE RECIPE
My proofing basket is not so big, it perfectly contains my weekly basic sourdough with no add-ins, therefore I needed to split the dough between my proofing basket and a loaf cake pan.
[ for a 1.275 kg loaf ]
for the add-ins
3 pieces (84 g) 100% cacao chocolate bar
100 g raw hazelnuts
125 g mission dried figs
Preheat oven to 350°F / 175°C.
Spread hazelnuts on a baking sheet and roast for 10-15 minutes.
Let them cool, rub them in a tea towel to remove as much peel as possible. Put them in a bowl, cover with water and soak for at least 4 hours. After 2 hours soak the figs too. Strain very well the ingredients, squeeze the figs and chop or slice them – I like them in pretty big chunks. Chop the chocolate bar and mix all the add-ins.
Incorporate them into the dough when requested (below).
for the pre-dough
1 tbsp fed starter
50 ml lukewarm water
50 g dark rye flour
In a big mixing bowl dissolve the starter with the water, then add the flour and mix until there are no more spots of dry flour. Cover with a tea-towel and set aside in a quiet place where it’s not going to be exposed to sudden temperature changes – I use a side shelf of my old country stove.
for the dough
400 ml lukewarm water
50 g dark rye flour
50 g cacao powder
200 g whole wheat flour
200 g bread flour
12 g sea salt
Add water to the pre-dough bowl and stir to combine. Add all the other ingredients and stir until there are no drier flour lumps. Cover with the towel and set aside for 30 minutes.
1° type of folding: (you can follow the folding steps in this video) the dough is in the bowl. With one wet hand pinch the border of the dough and bring it into the middle, and work in the same way all around. I hope to be able to make a video or a step-by-step shooting asap. Cover with the towel and let rest for 30 minutes. Repeat and set aside for other 30 minutes. The third time, add the add-ins and fold in the same way until all the ingredients are (almost) combined in the dough. Let rest for 30 minutes. Repeat a fourth time, cover with the towel and let rise for a while – depending on the starter strength, the room temperature, and the add-ins weight, it changes a lot. We’re looking for a soft dough, not for a perfect and complete rising.
2° type of folding: spread a handful of brown rice flour on the counter or a wood board and pour the dough. Slightly shape it into a rectangle horizontally in front of you and follow the illustration I prepared for you – I hope it helps. At the final step, spread some more rice flour if needed: the dough as to be completely coated in flour. Move it into a proofing basket with the seal up and let rise until it starts to flatten itself.
For baking the bread you need a covered pot. You can use a dutch oven, but I use a cast iron combo cooker: in this way I can use the lid as main pot and the skillet as a lid, avoiding to burn my hands later. I put the lid in the oven and I preheat it to 475°F / 250°C. When it reaches the temperature I overturn the dough into the hot lid/pot, I slash it with a lame from one side to the other, I cover it with the lid/skillet, and I bake for 15 minutes. I then uncover the bread and I let it bake for others 20 minutes or until the bottom sounds hollow. Put it on a cooling rack and let it rest for at least 1 hour – this will allow your bread to be at its best.
Why do you need to slash the dough before baking it?
Because it totally helps a proper final leavening during the baking and improves the look of your bread.
Why do you need a covered pot?
Because we need steam for the best baking and the best option is to use the dough’s water content. Spray water in the oven is not a good alternative since it can damage your appliance.


Mmmmh.. sono nella tua stessa situazione: amo sperimentare ma il moroso apprezza solo certe cose.. il pane gli piace un sacco ma guai mischiare il cacao con la frutta..
Questo pane qui sembra proprio una meraviglia, sicuramente ottimo mangiato al naturale e io ci azzarderei anche un filo di olio evo sopra e basta 😉
Uhhh, sarebbe una meraviglia!
Quando gli ho parlato al telefono del pane che stavo facendo era “eeewww, la cioccolata nel paaaneeee?” ahaha
hahaha
Per il mio moroso pane con la cioccolata vuol dire: in passato spaccatina+nutella ora pane a lievitazione naturale fatto in casa+crema al nocciolato fatto da me.
Dai, in fondo è migliorato 😉
hihi
Favoloso questo pane. Non ho mai immaginato di poter fare un pane con cacao e cioccolato amaro. Oltretutto è bellissimo da vedere!
E il profumo Sara…mamma mia!
This looks incredible!
It really was! I was surprise by the final taste, it was so so good!